1. Installing Instant Chat Plugin
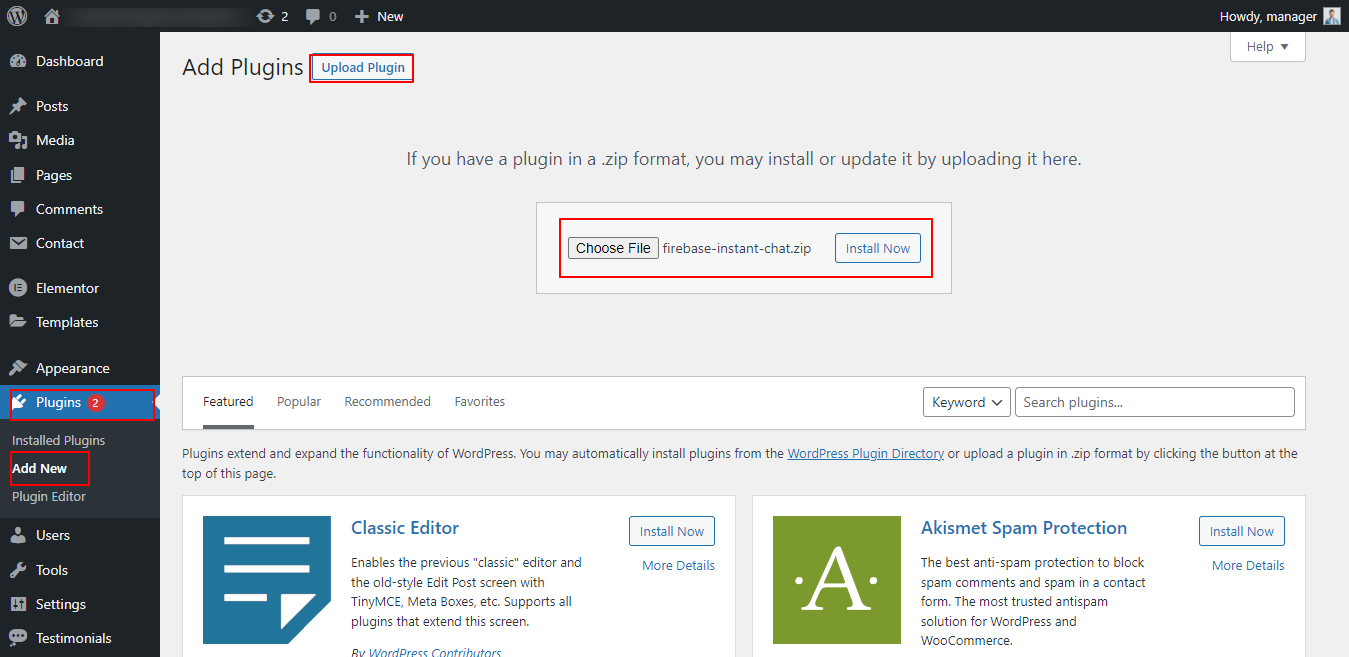
Firstly, download the instant chat plugin from the download links received in your email. From your WordPress admin panel, go to Plugins >> Add New and click on Upload Plugin.
2. Configuring Firebase Details
2.1 Create Firebase Project
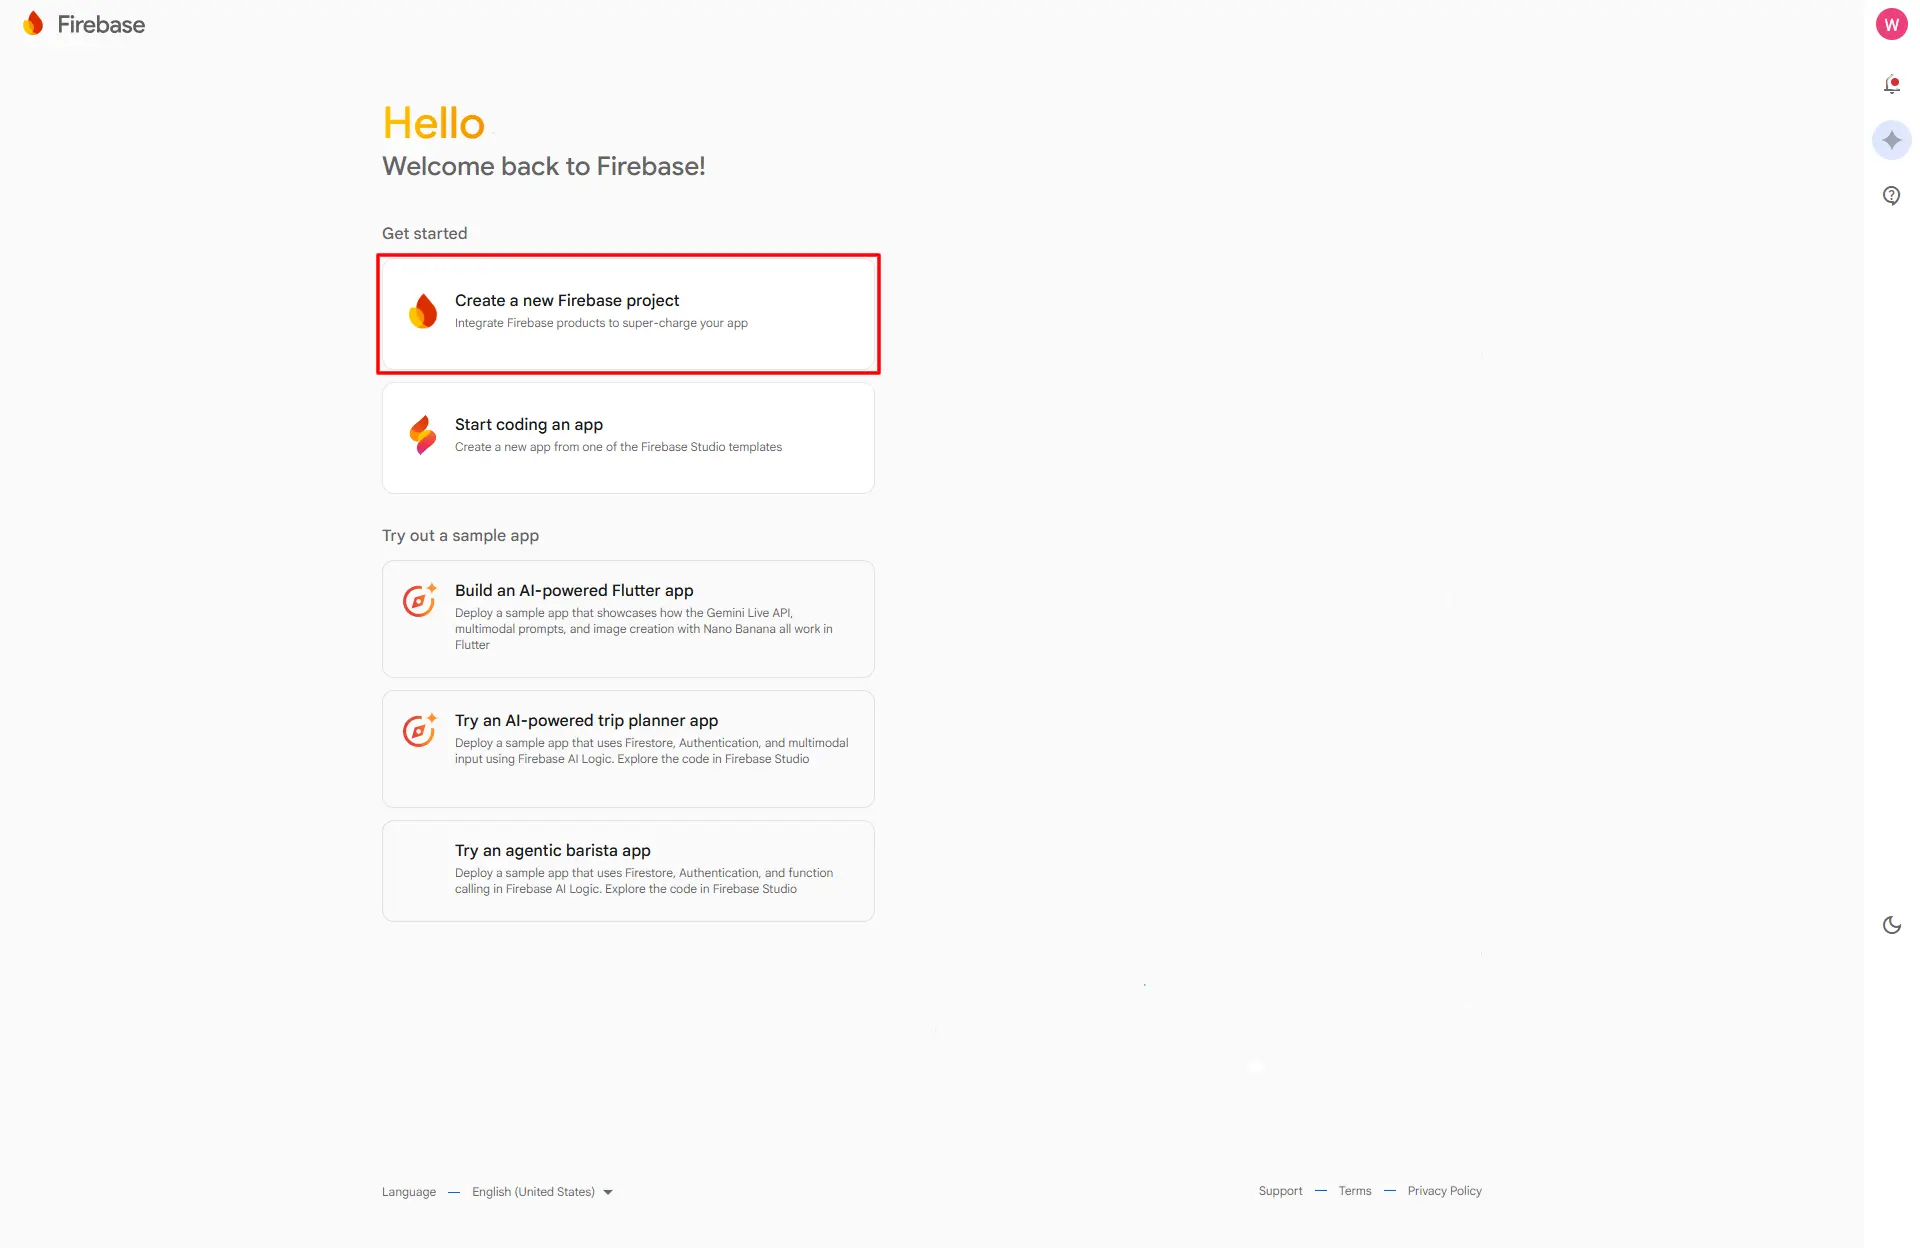
Login to your gmail account and go to https://console.firebase.google.com/. Then, click on Create a new Firebase project.
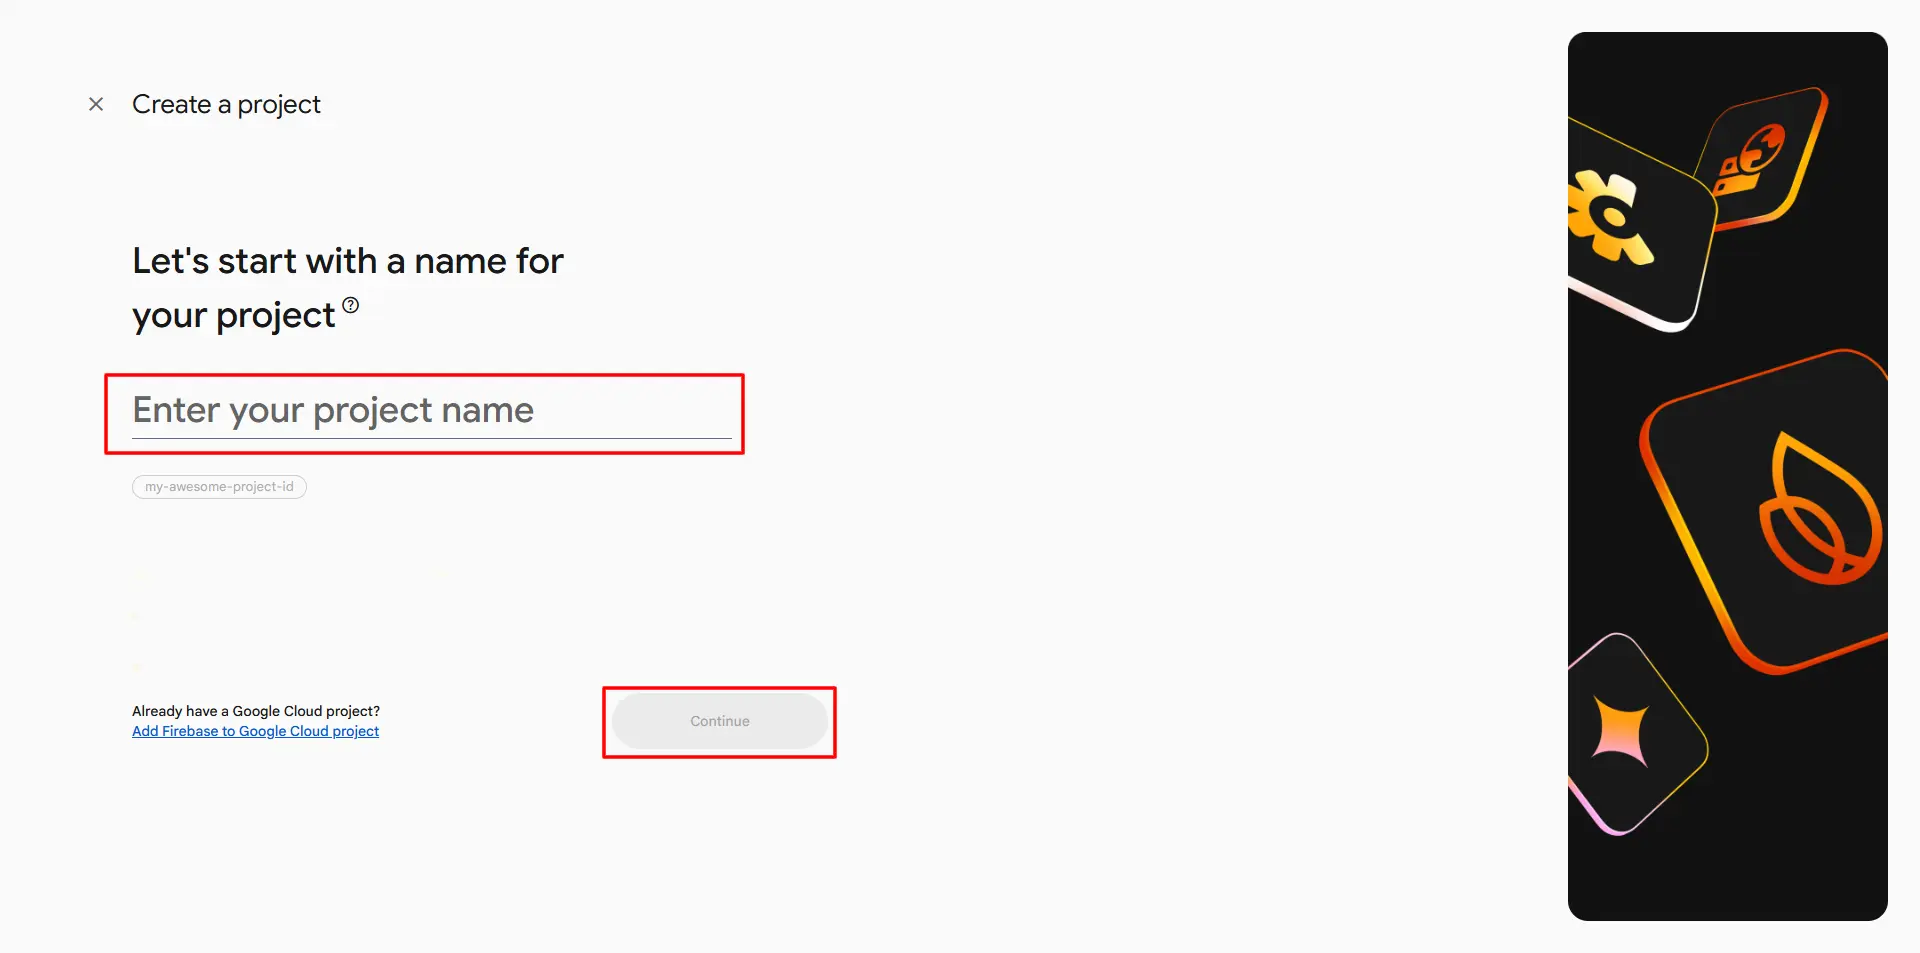
 Give a name to your Firebase project, and click on Continue.
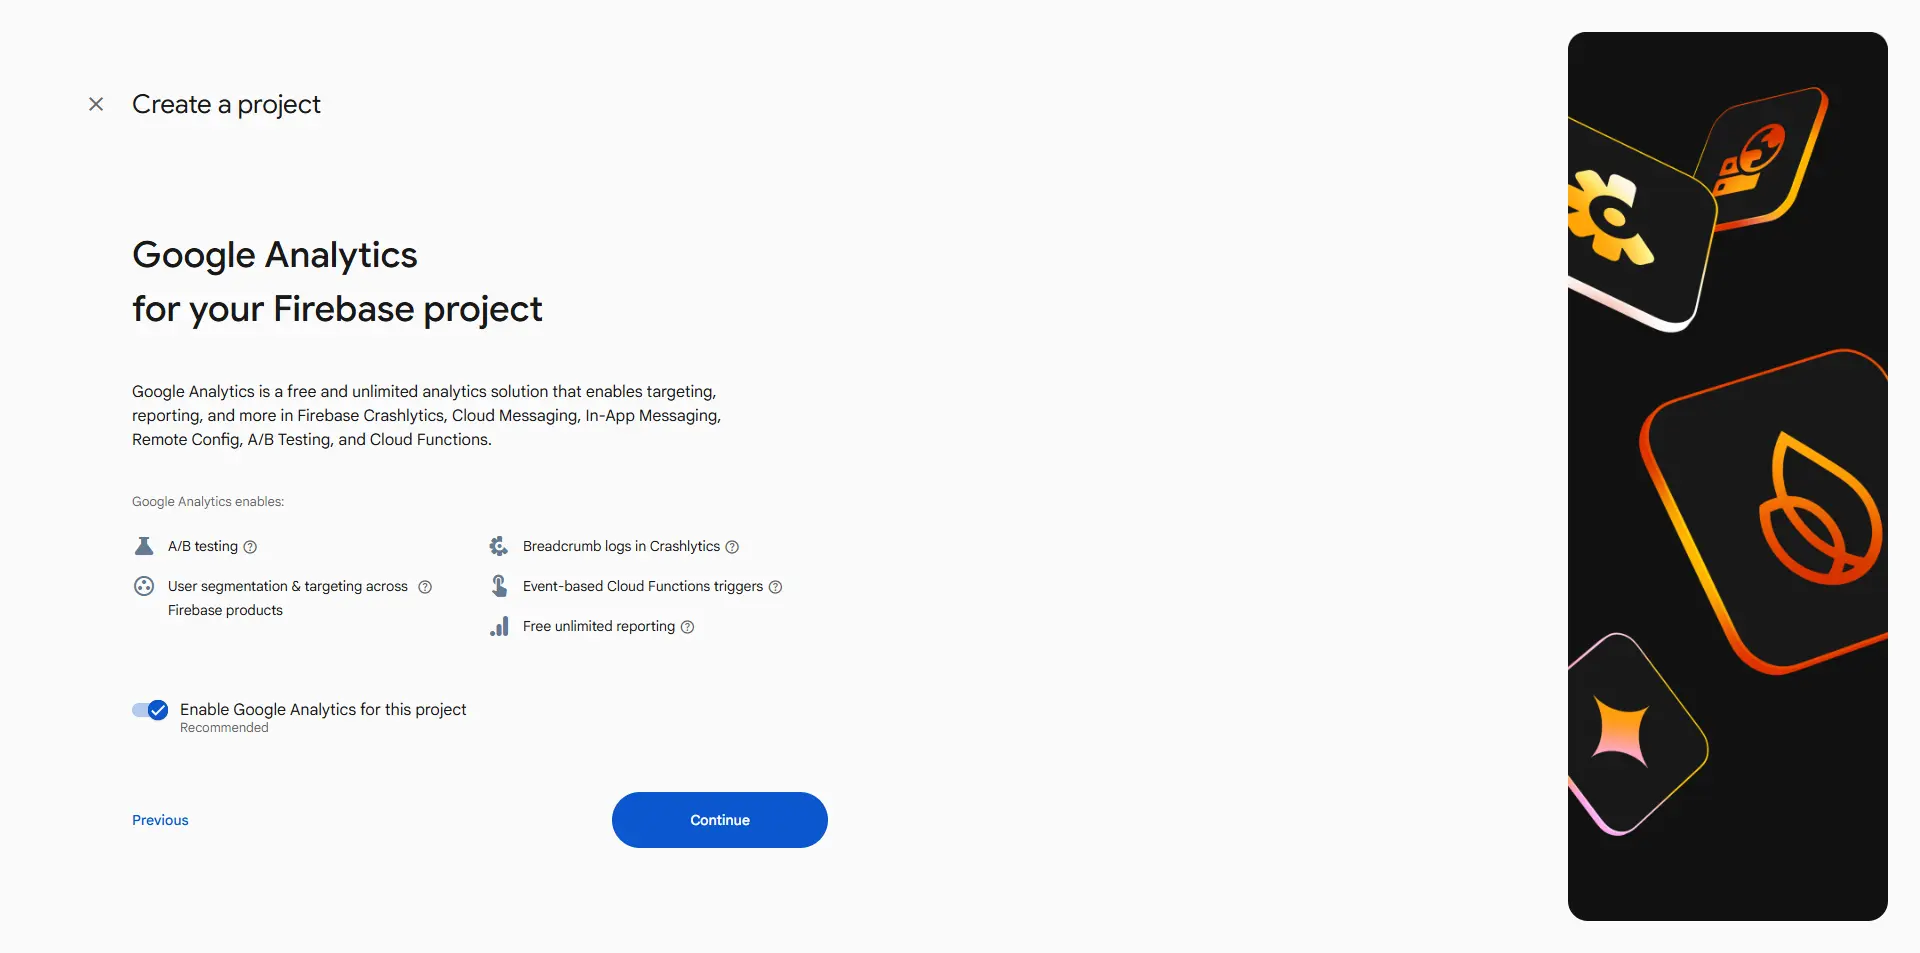
 Enable Google Analytics for the project and click on the Continue button.
Configure Google Analytics settings, and click on Continue.
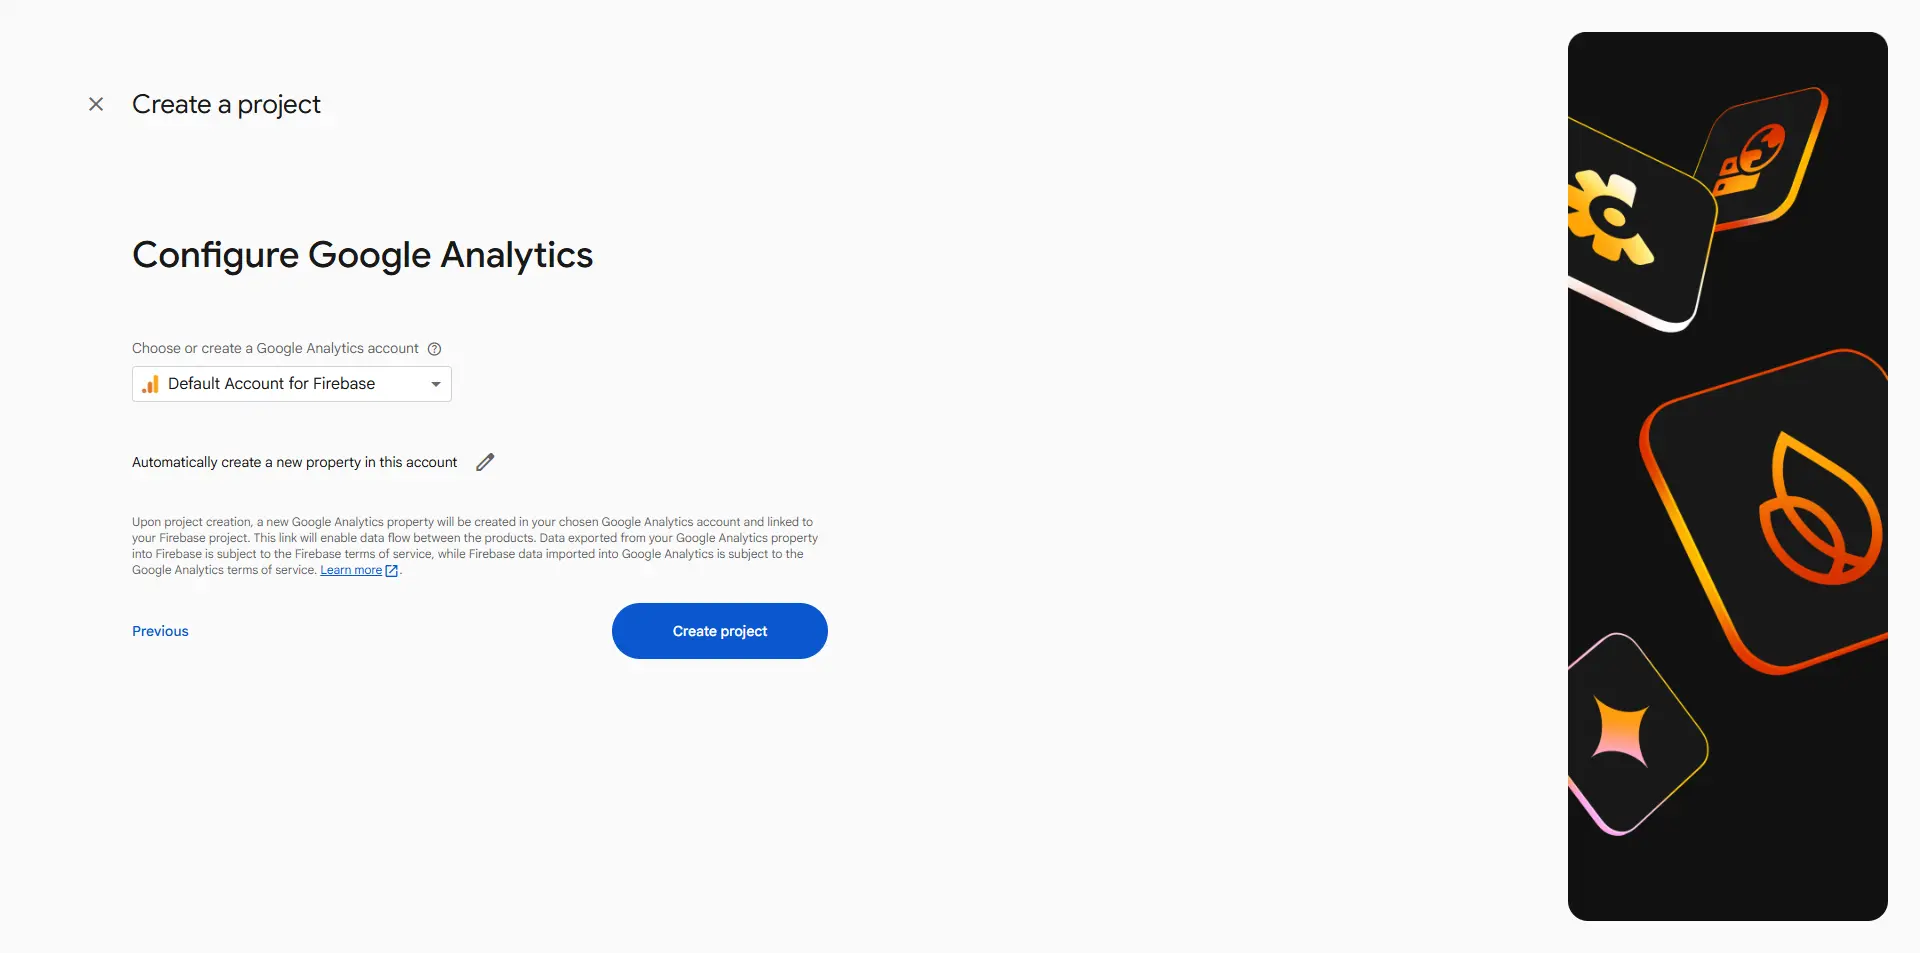 Your Firebase project is now created. Click on the Continue button.

2.2 Register App
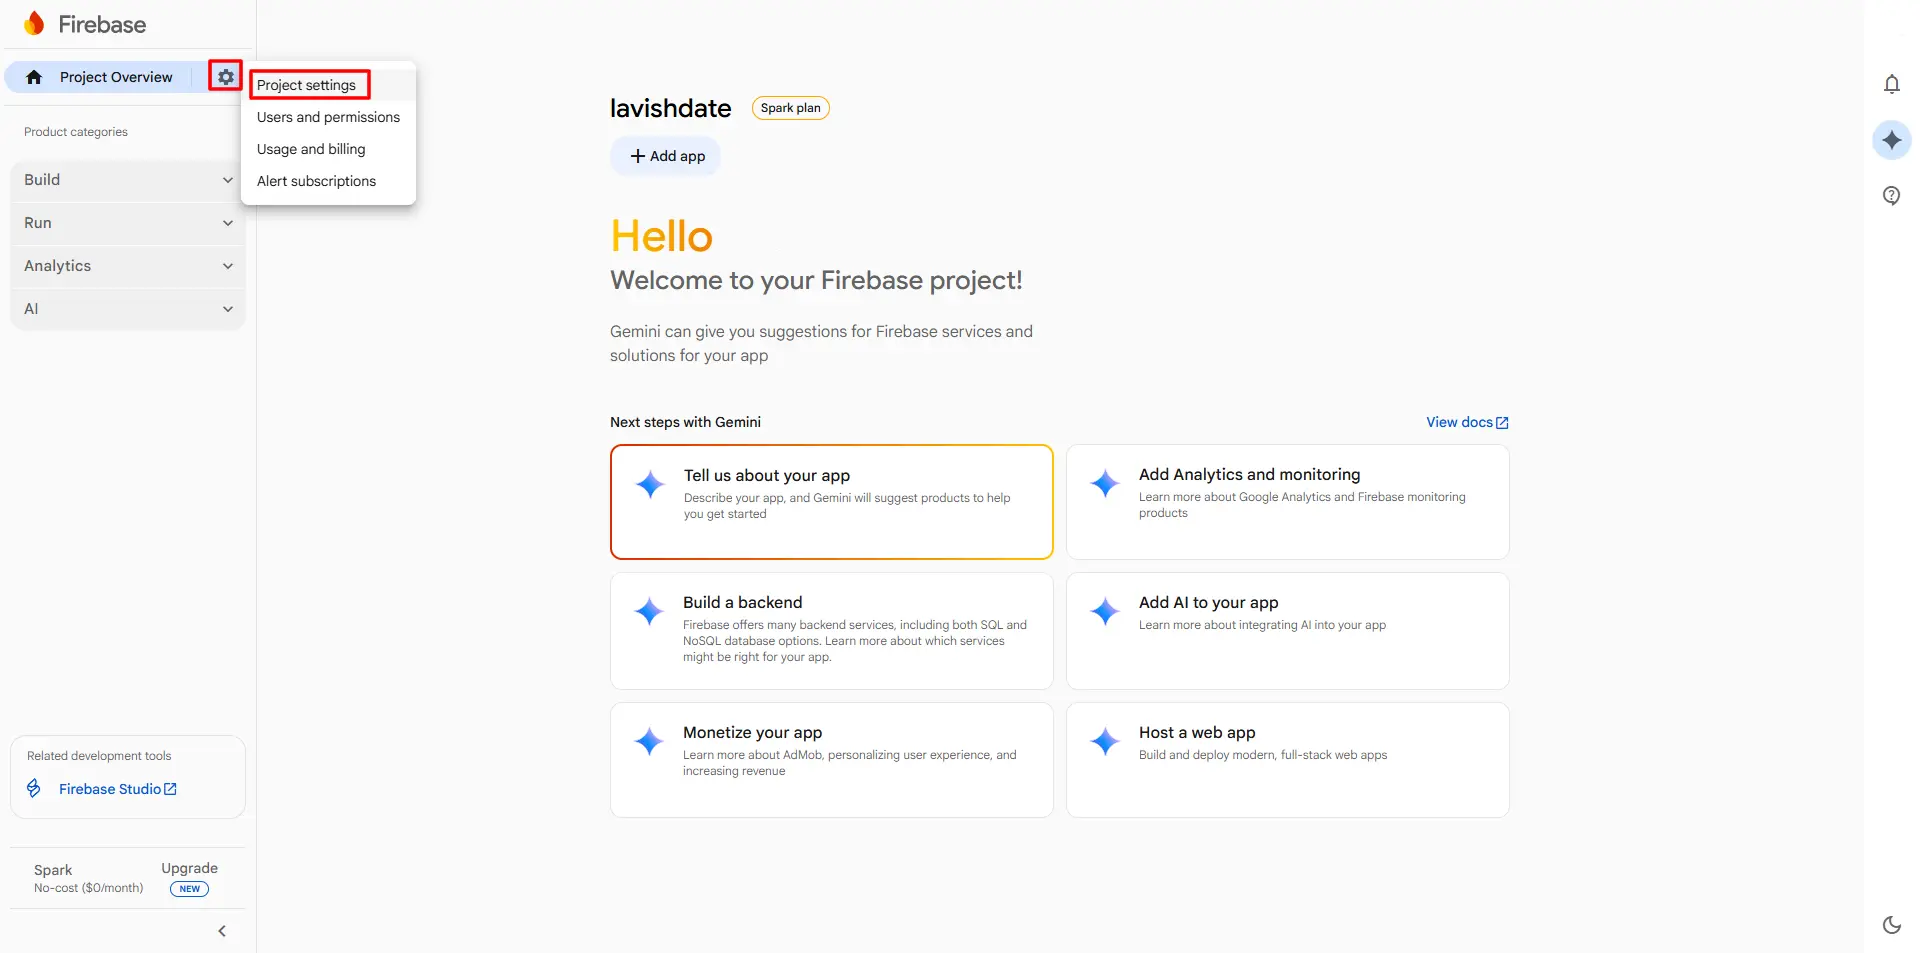
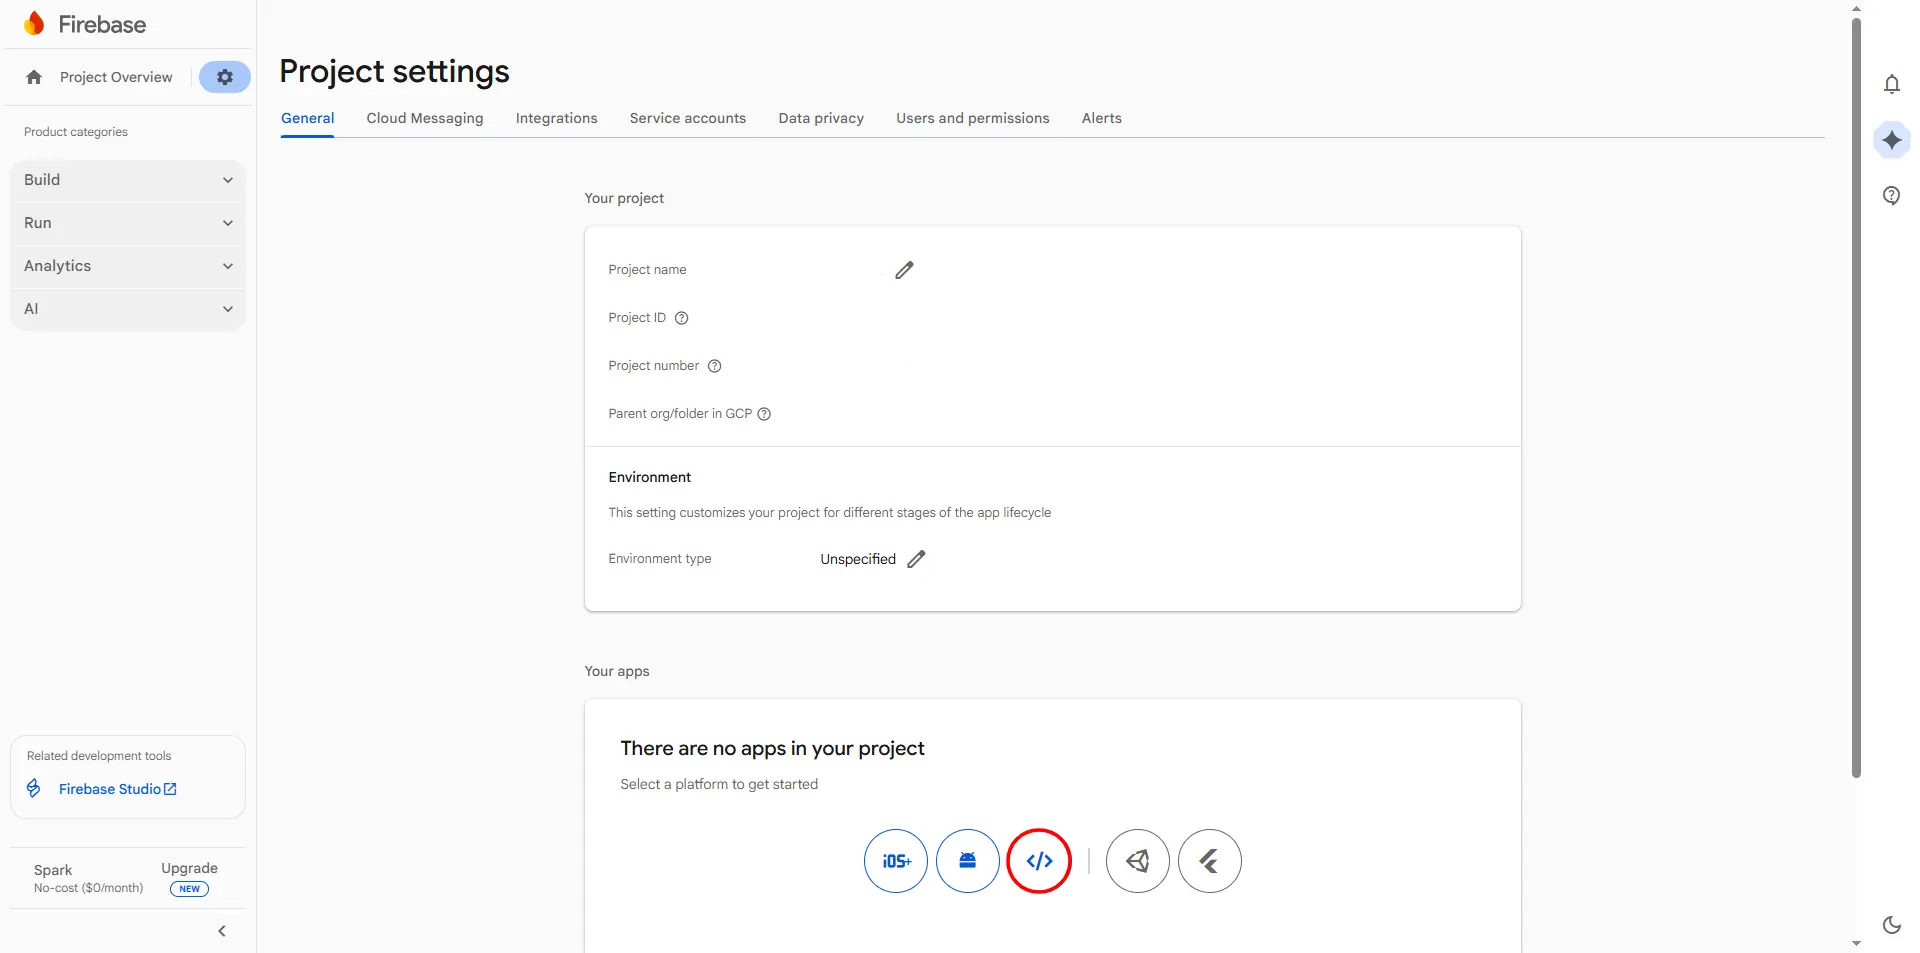
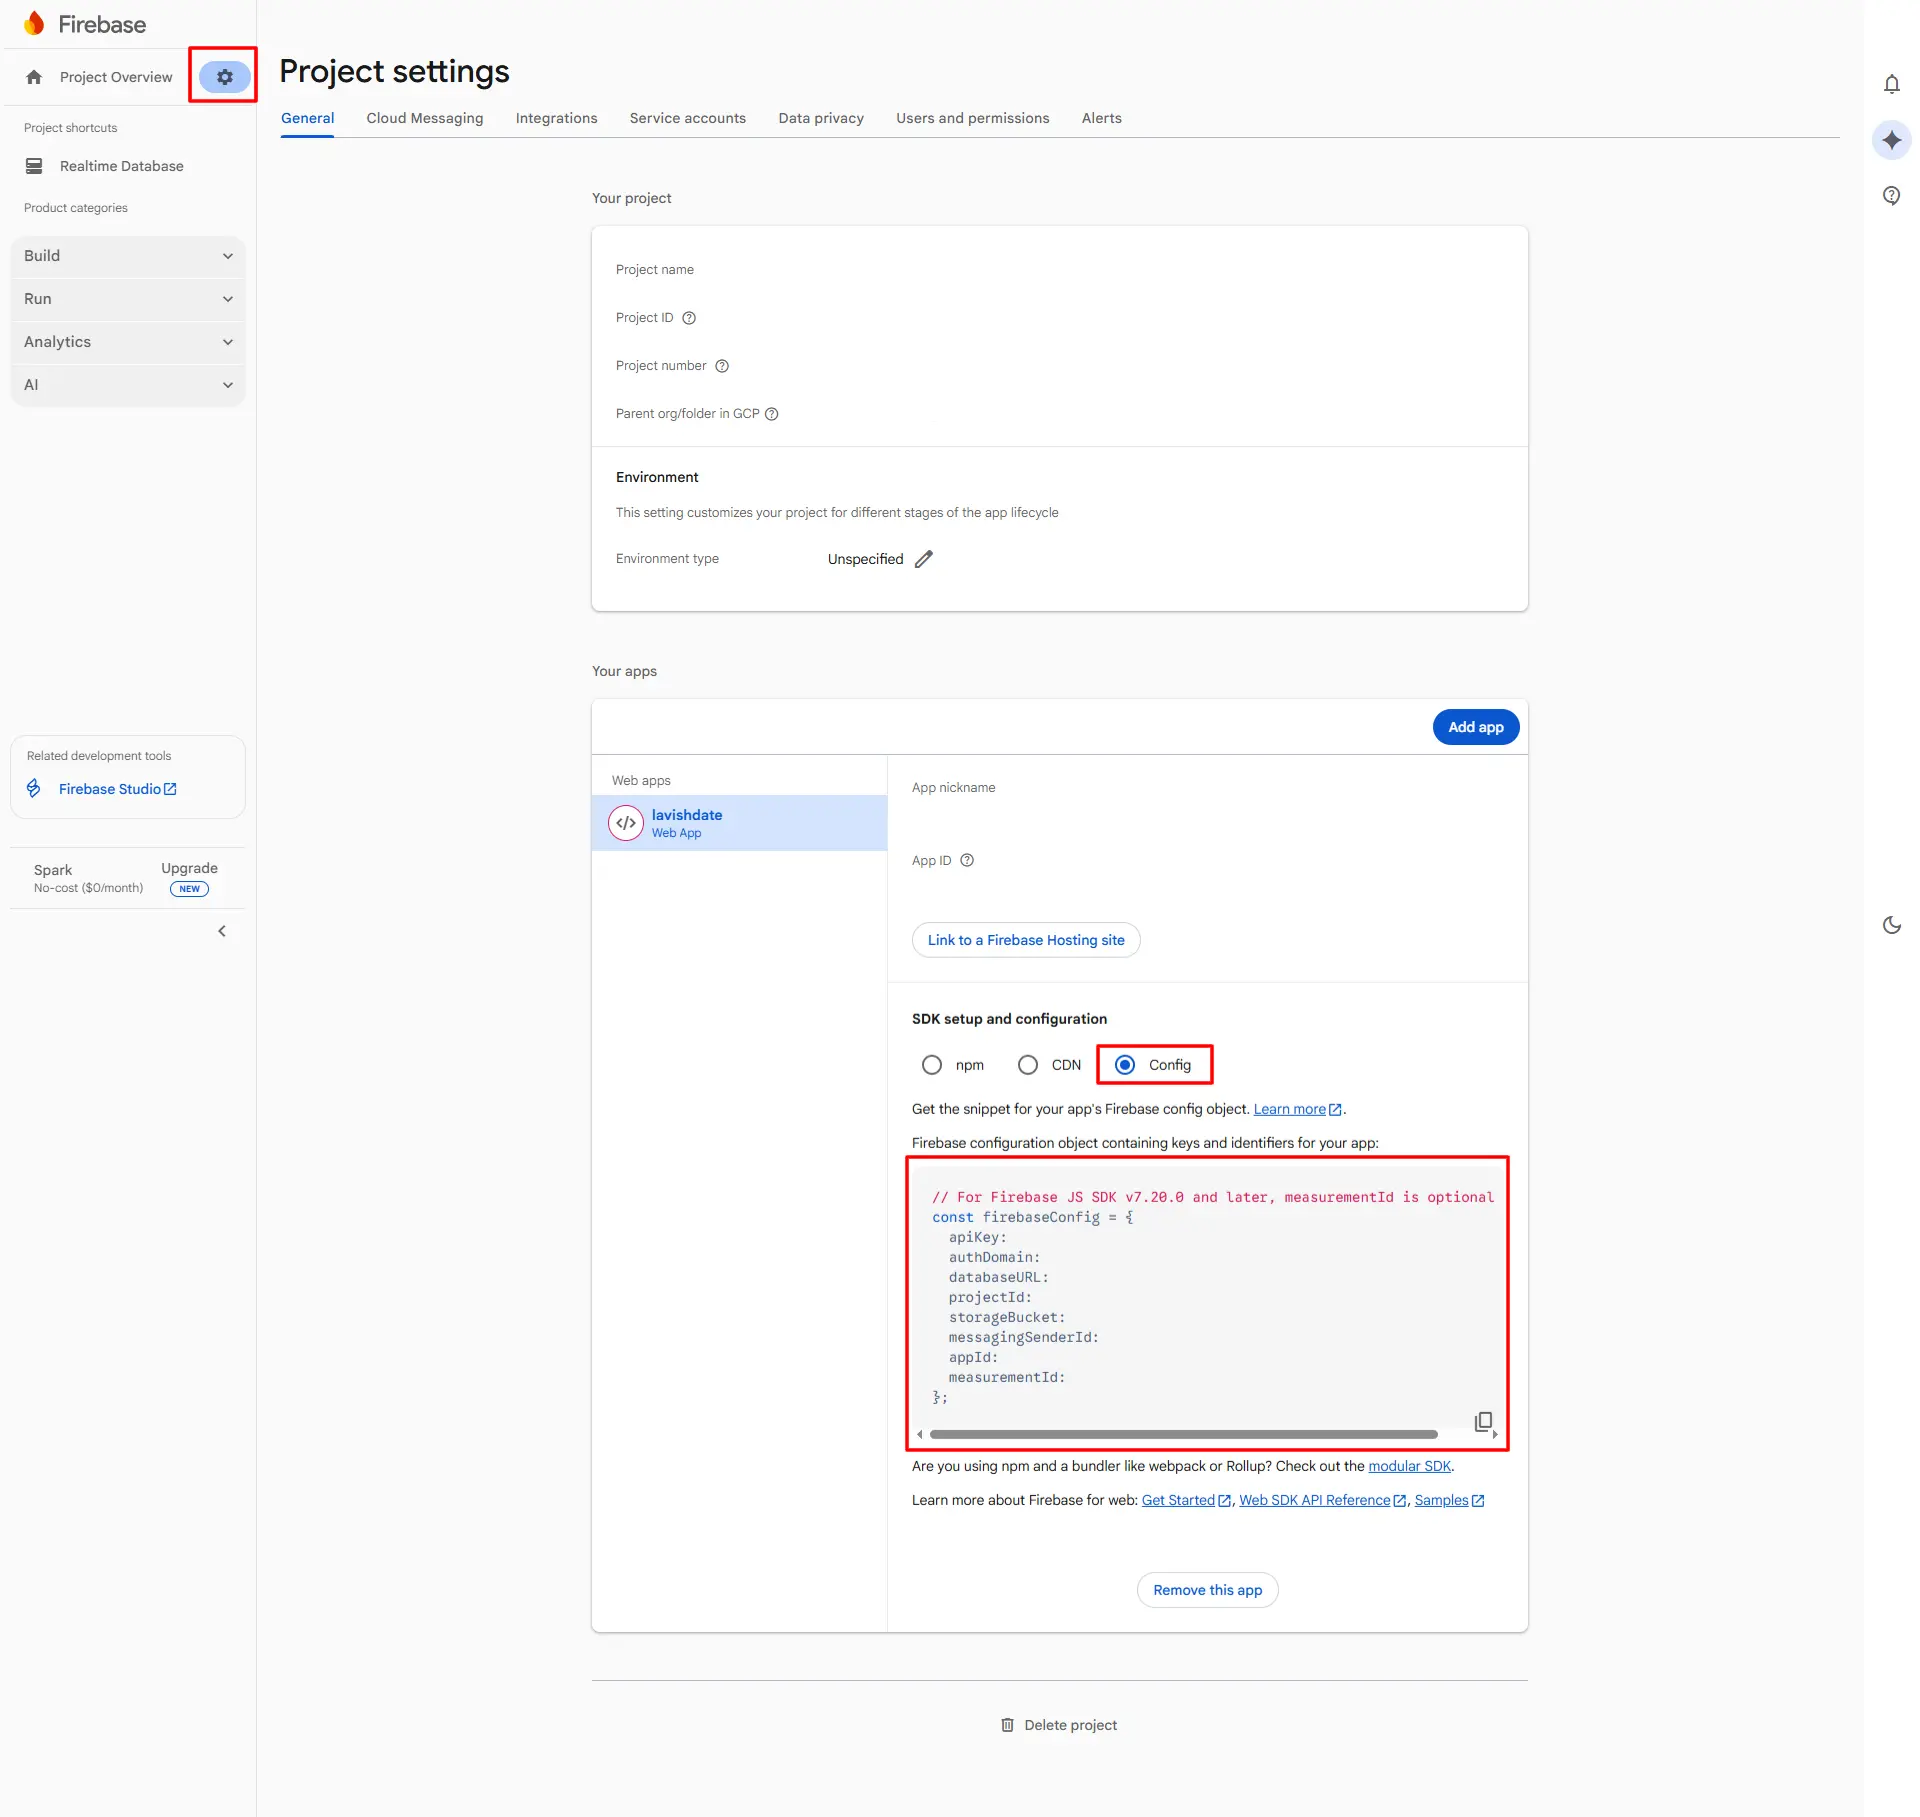
In your Project Overview, go to Project Settings and click on the Code icon.
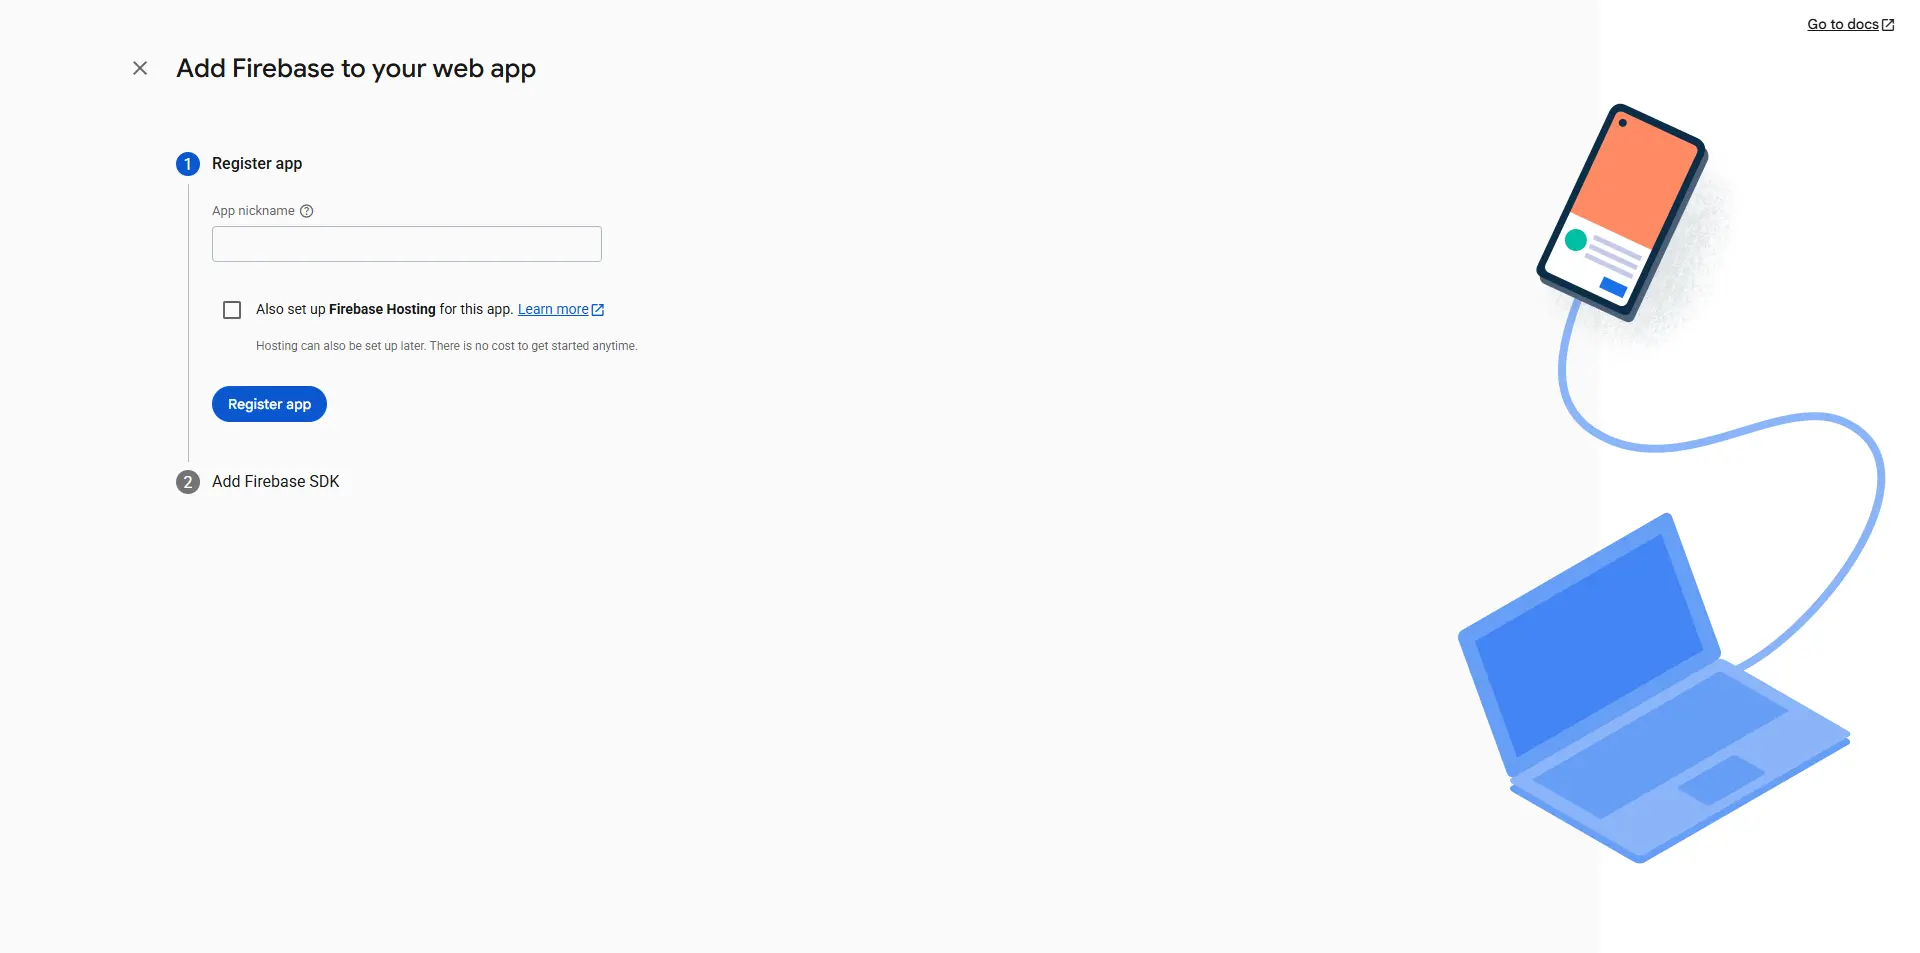
 Give a nickname to your app and click on the Register app button.
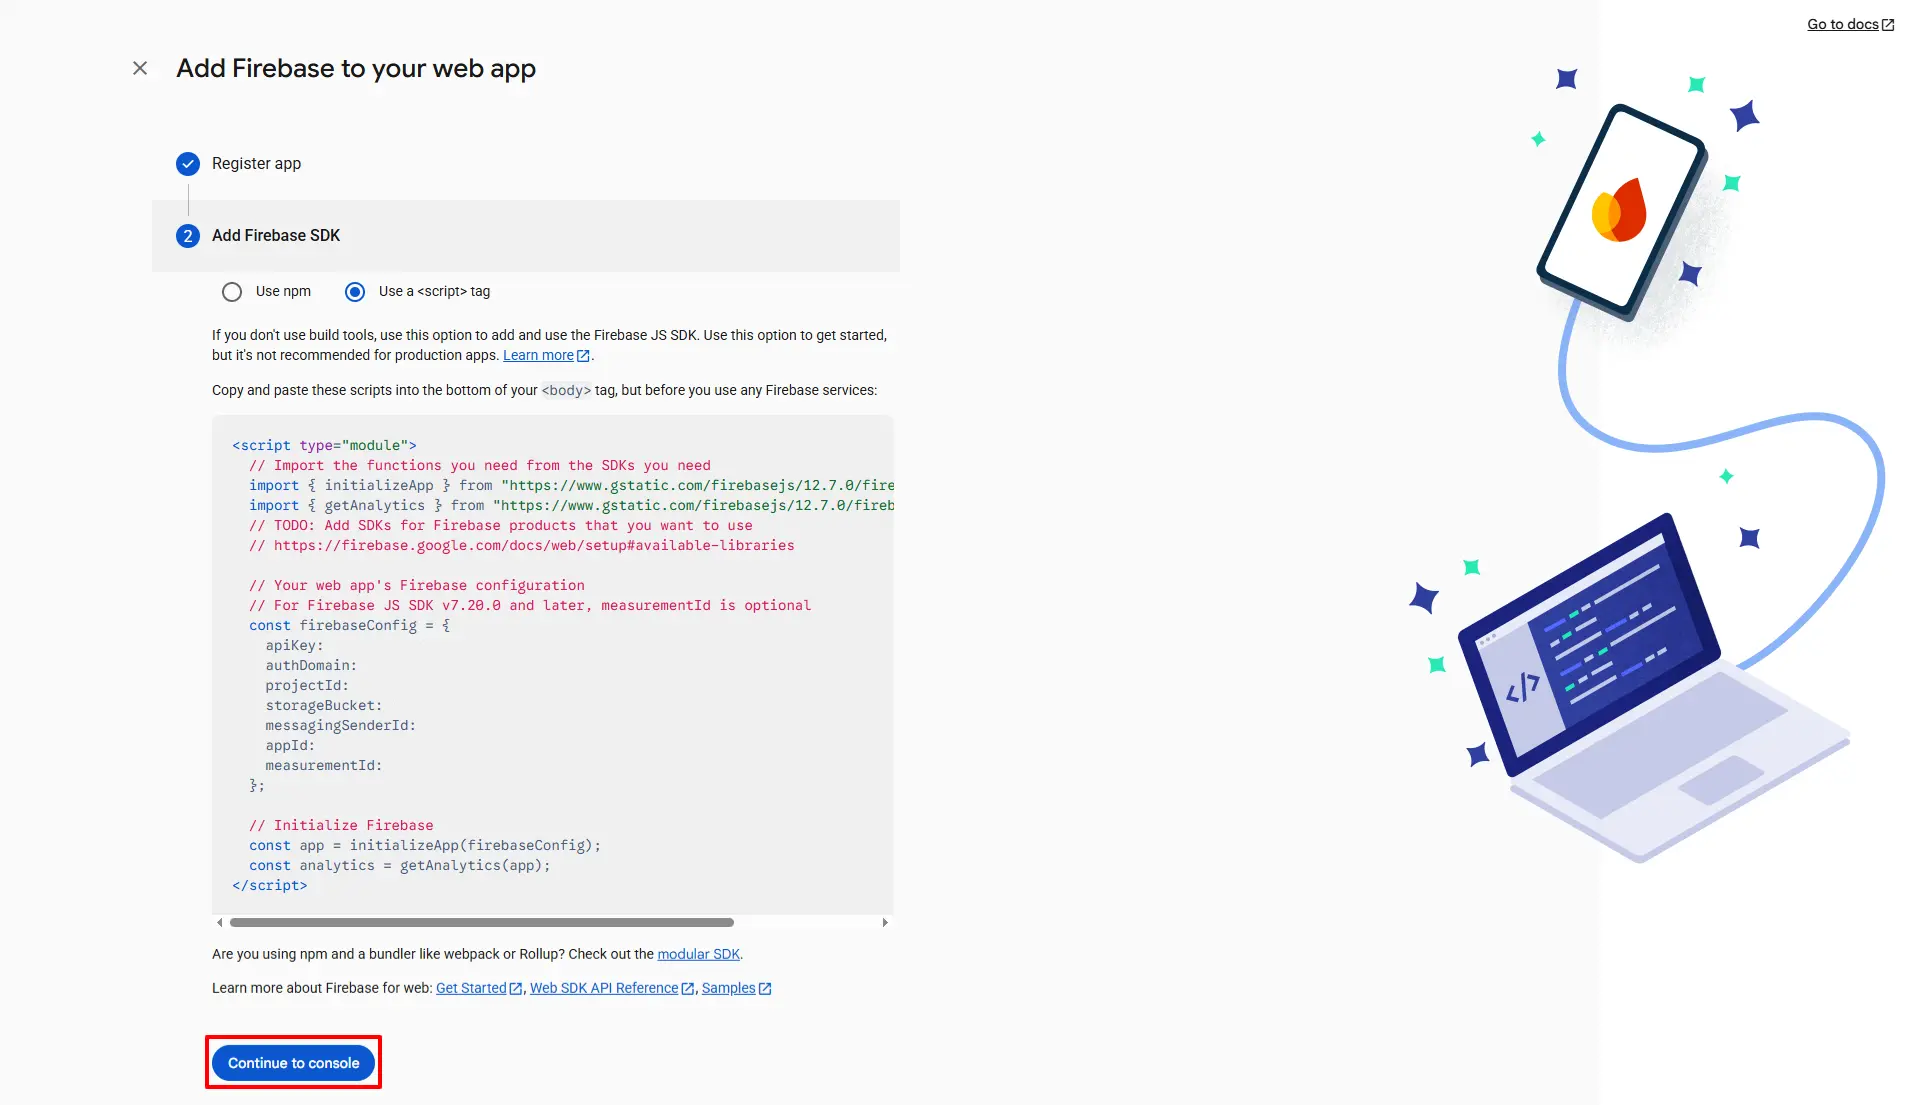
 When you receive the codes, click on the Continue to the console button.
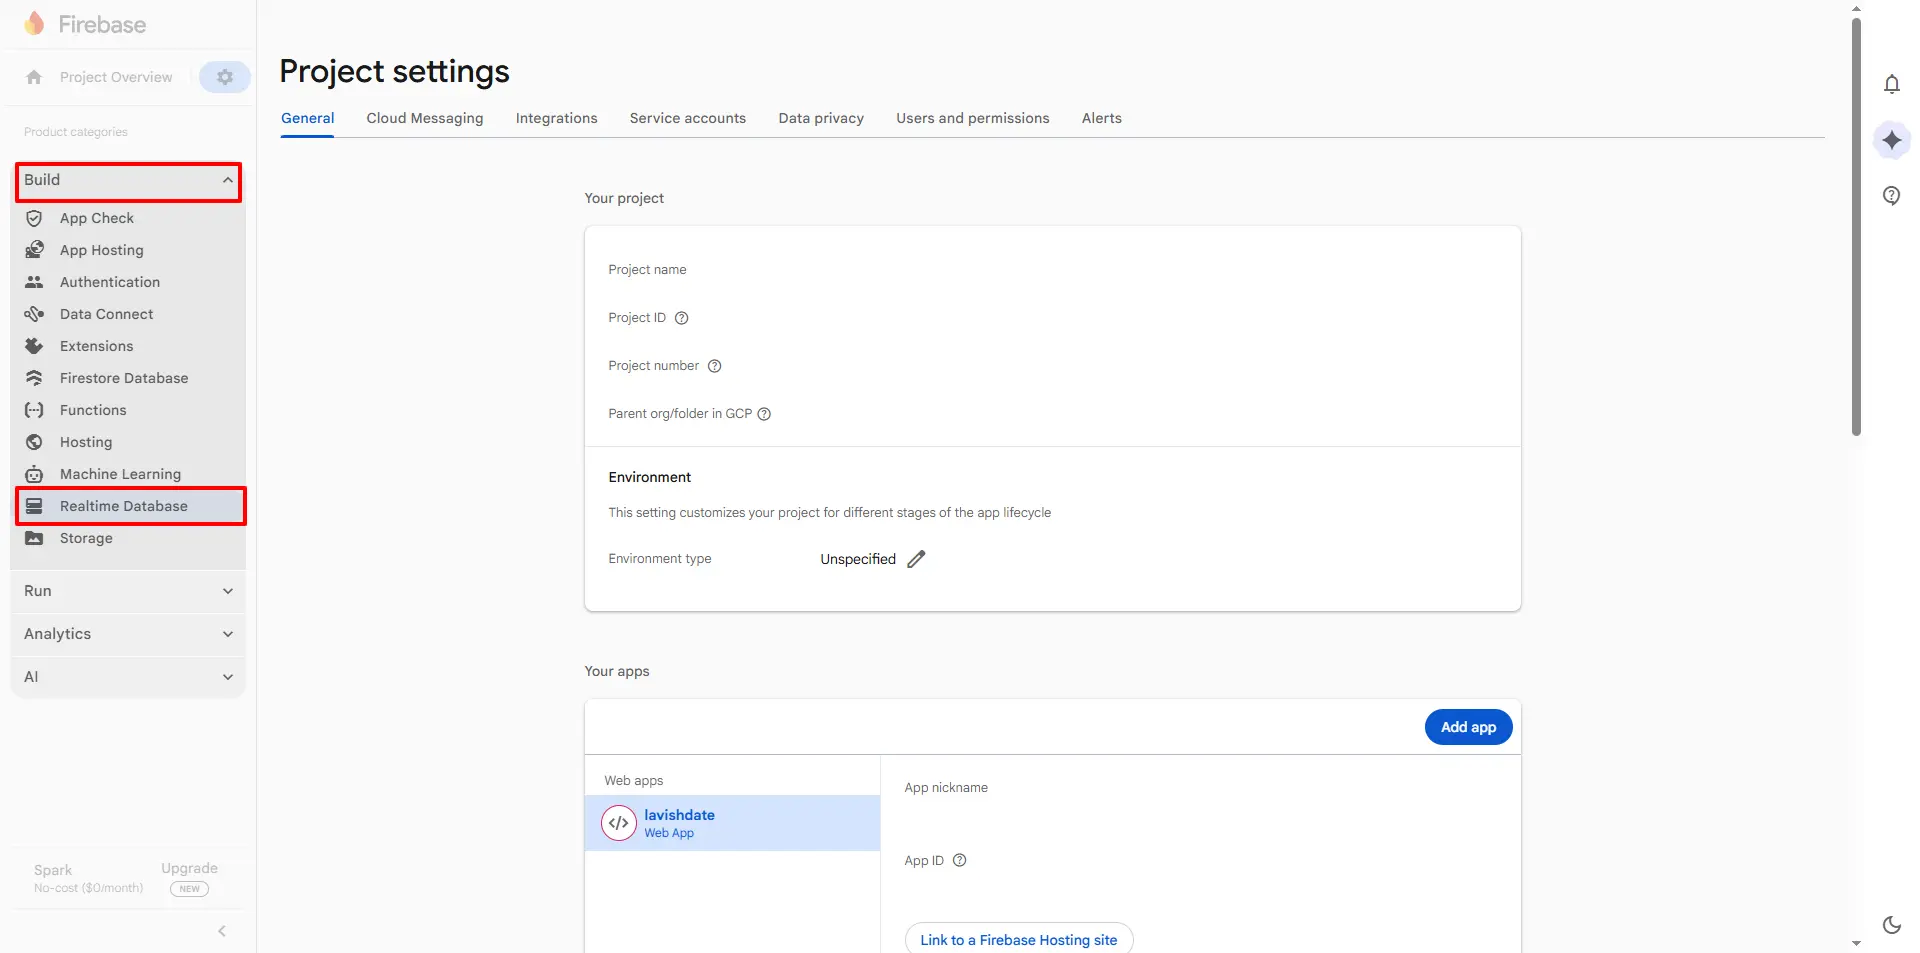
2.3 Create a Realtime Database
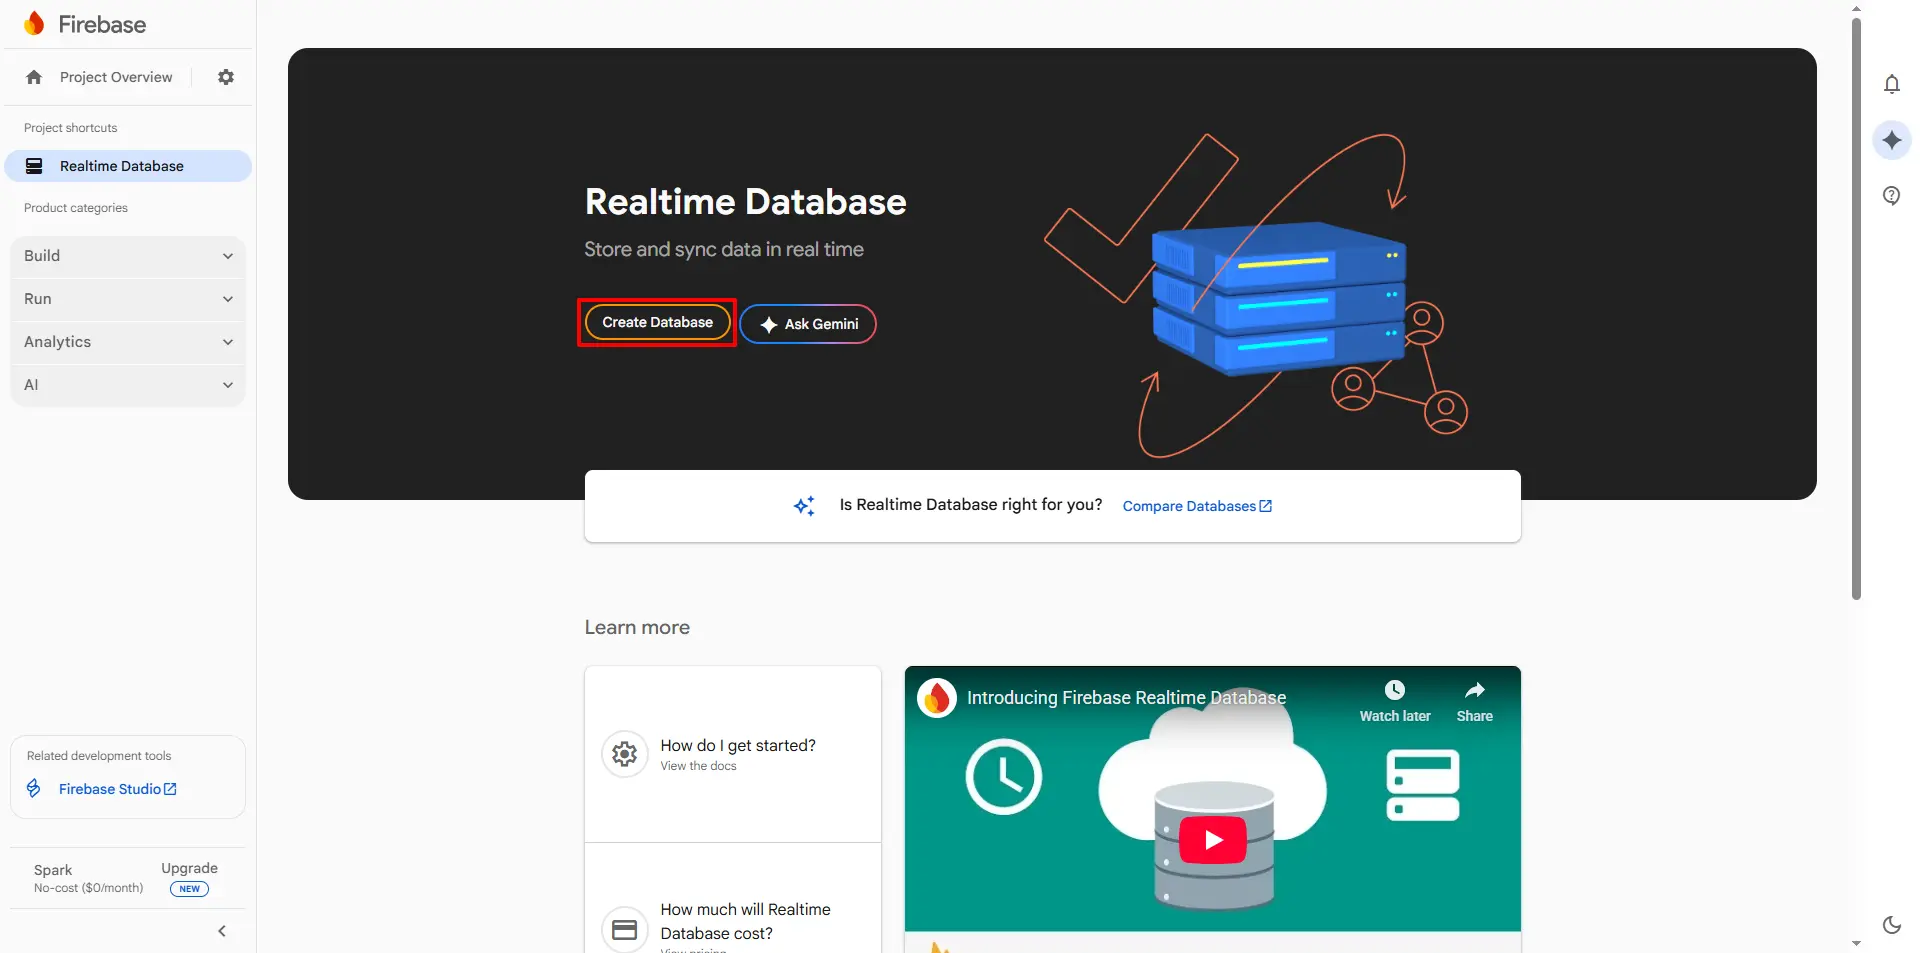
Now, go to Build and click on Realtime Database. Click on the Create Database button.
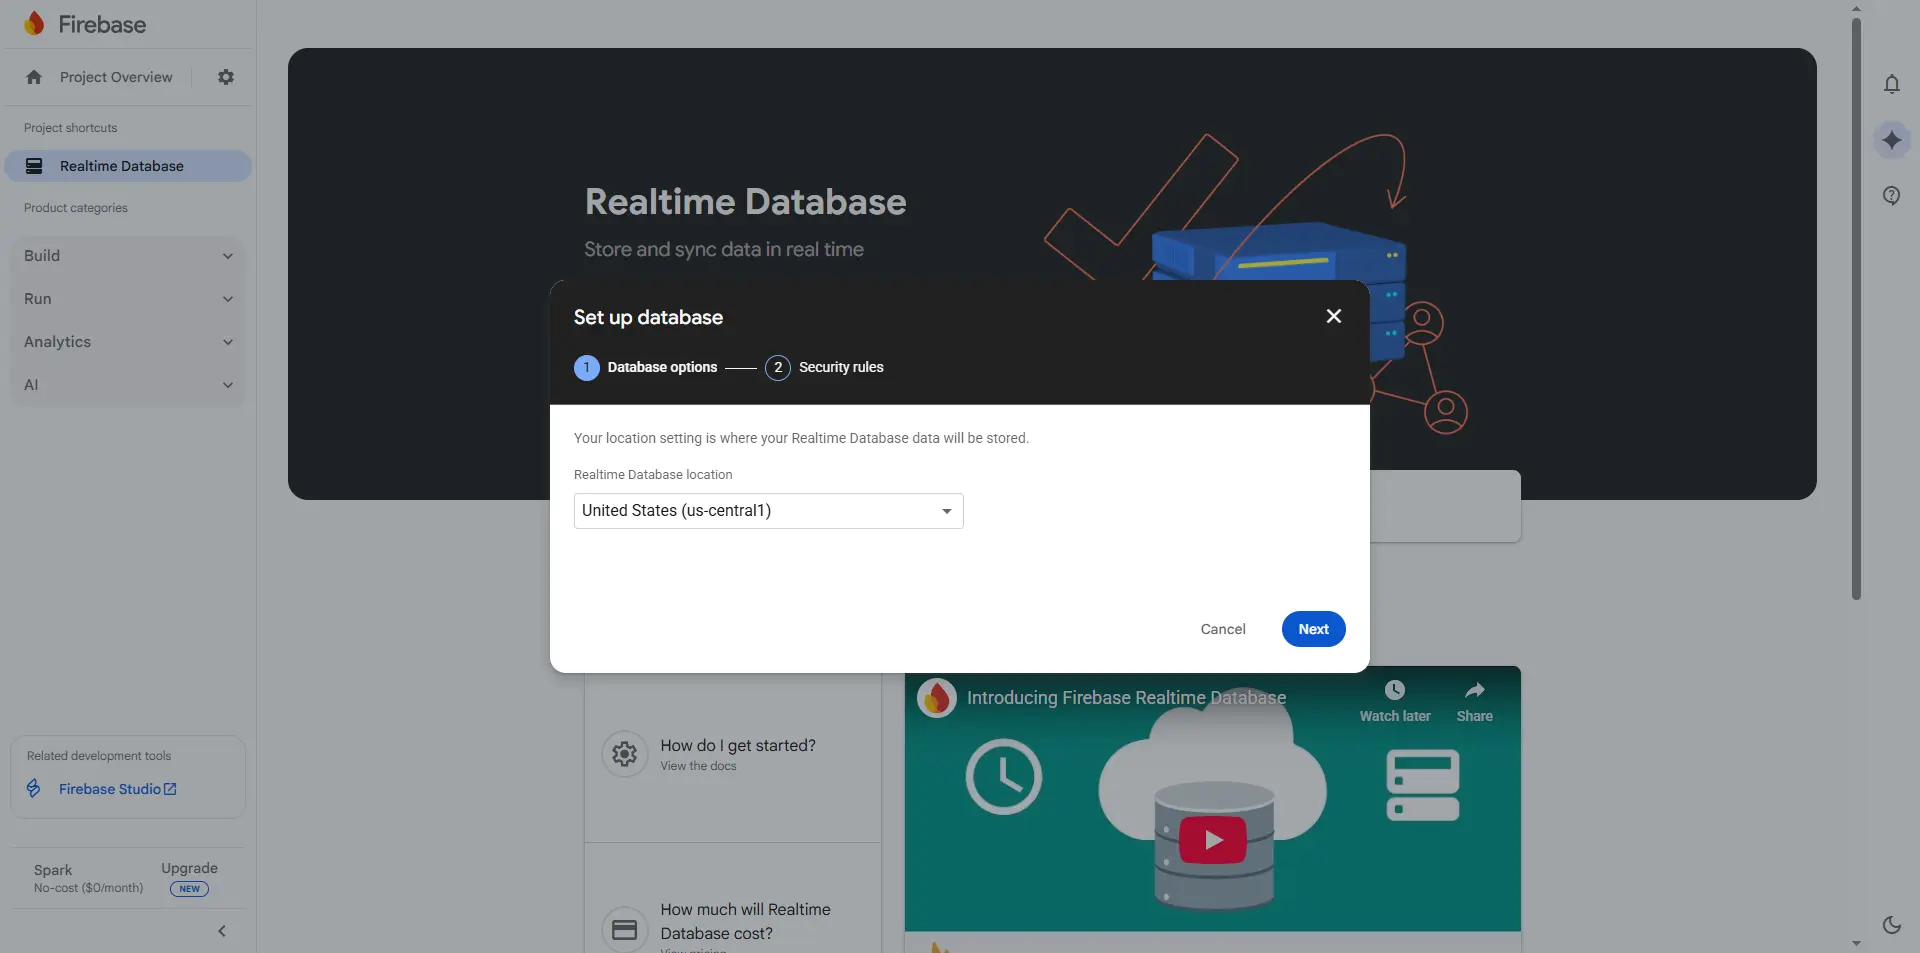
 Select Database location and click on the Next button.
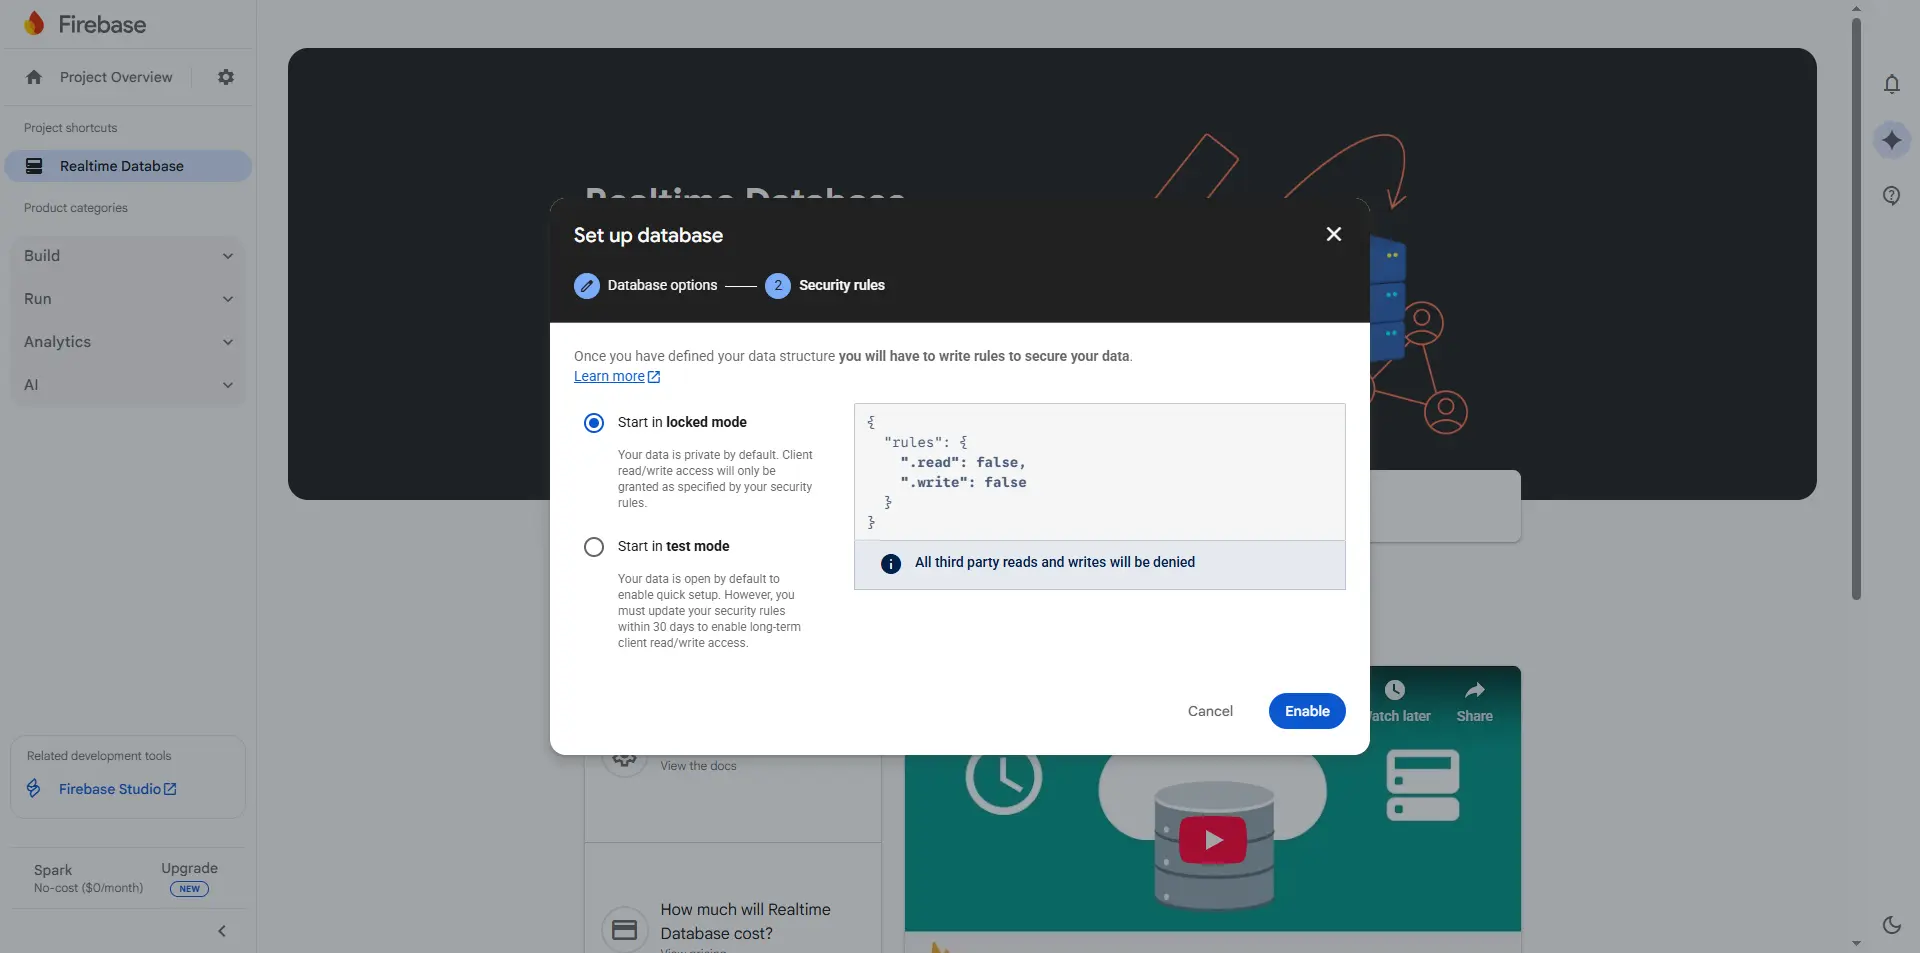
 Select locked mode and click on the Enable button.
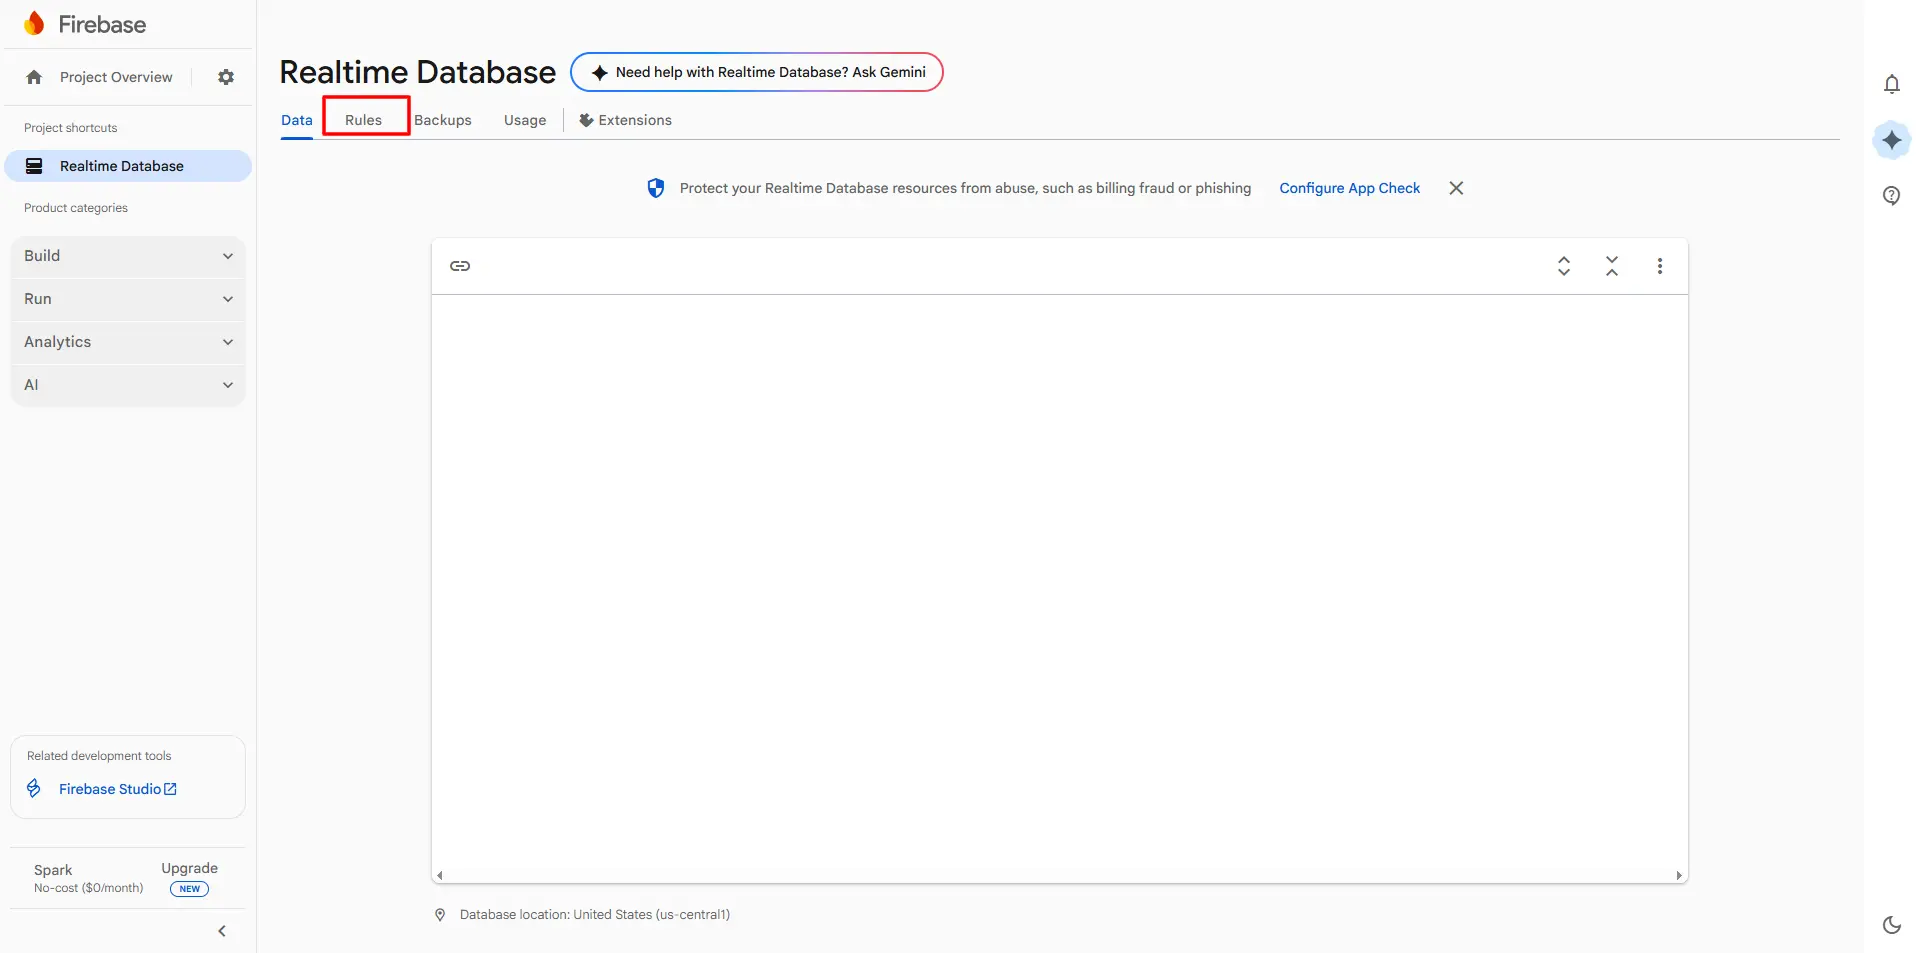
 After the Realtime Database is created, go to the Rules tab and publish the following rules.
{
  "rules": {
    ".read": true,
    ".write": true
  }
}

Now, refresh the page and go to Project Overview and click on Project Settings.
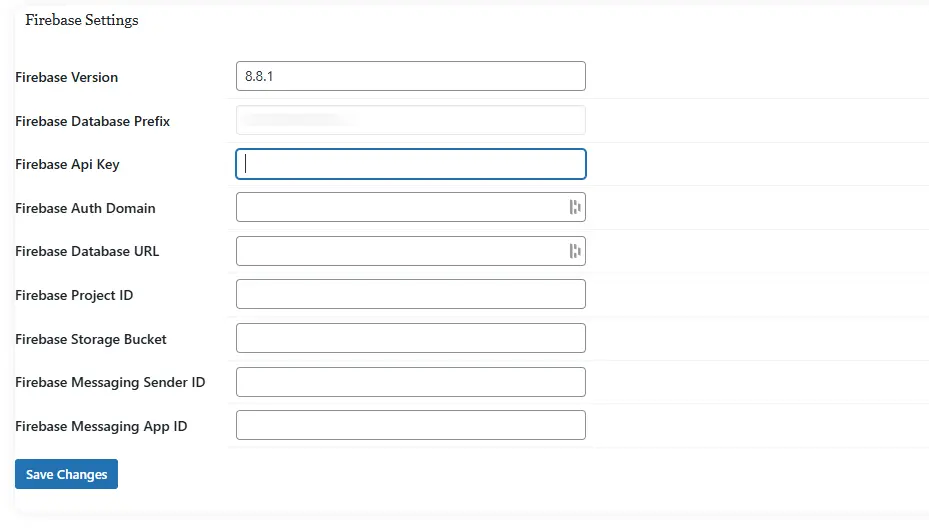
Finally, go to Firebase settings in your WordPress admin dashboard and enter Firebase Version as 8.8.1, paste all your Firebase configuration object containing keys and identifiers, and click on the Save Changes button. Leave the Firebase Database Prefix empty as it will be filled up automatically after saving the changes.
 Your Firebase-based Instant Chat installation is completed. Congratulations!
If you have any difficulty in this process, or if you are not comfortable with WordPress and Firebase, you can contact our support team at support@wpdating.com.