You can configure the Authorize.Net payment gateway on your site by following these steps.
Let’s check the requirements first. They are as follows:
Requirements:
- Login ID
- Transaction ID
- MD5 Hash
To get your above details, please check the following link: Obtaining API Login ID, Client ID & Transaction Key for Authorize.net Checkout Setup
Steps to configure Authorize.Net Payment Gateway:
-
Go to the admin dashboard under WP Dating Admin>>Settings>>Gateways, then select Authorize.net as the Payment Gateway to add the above details.
-
Add Webhook(Only for recurring payment):
-
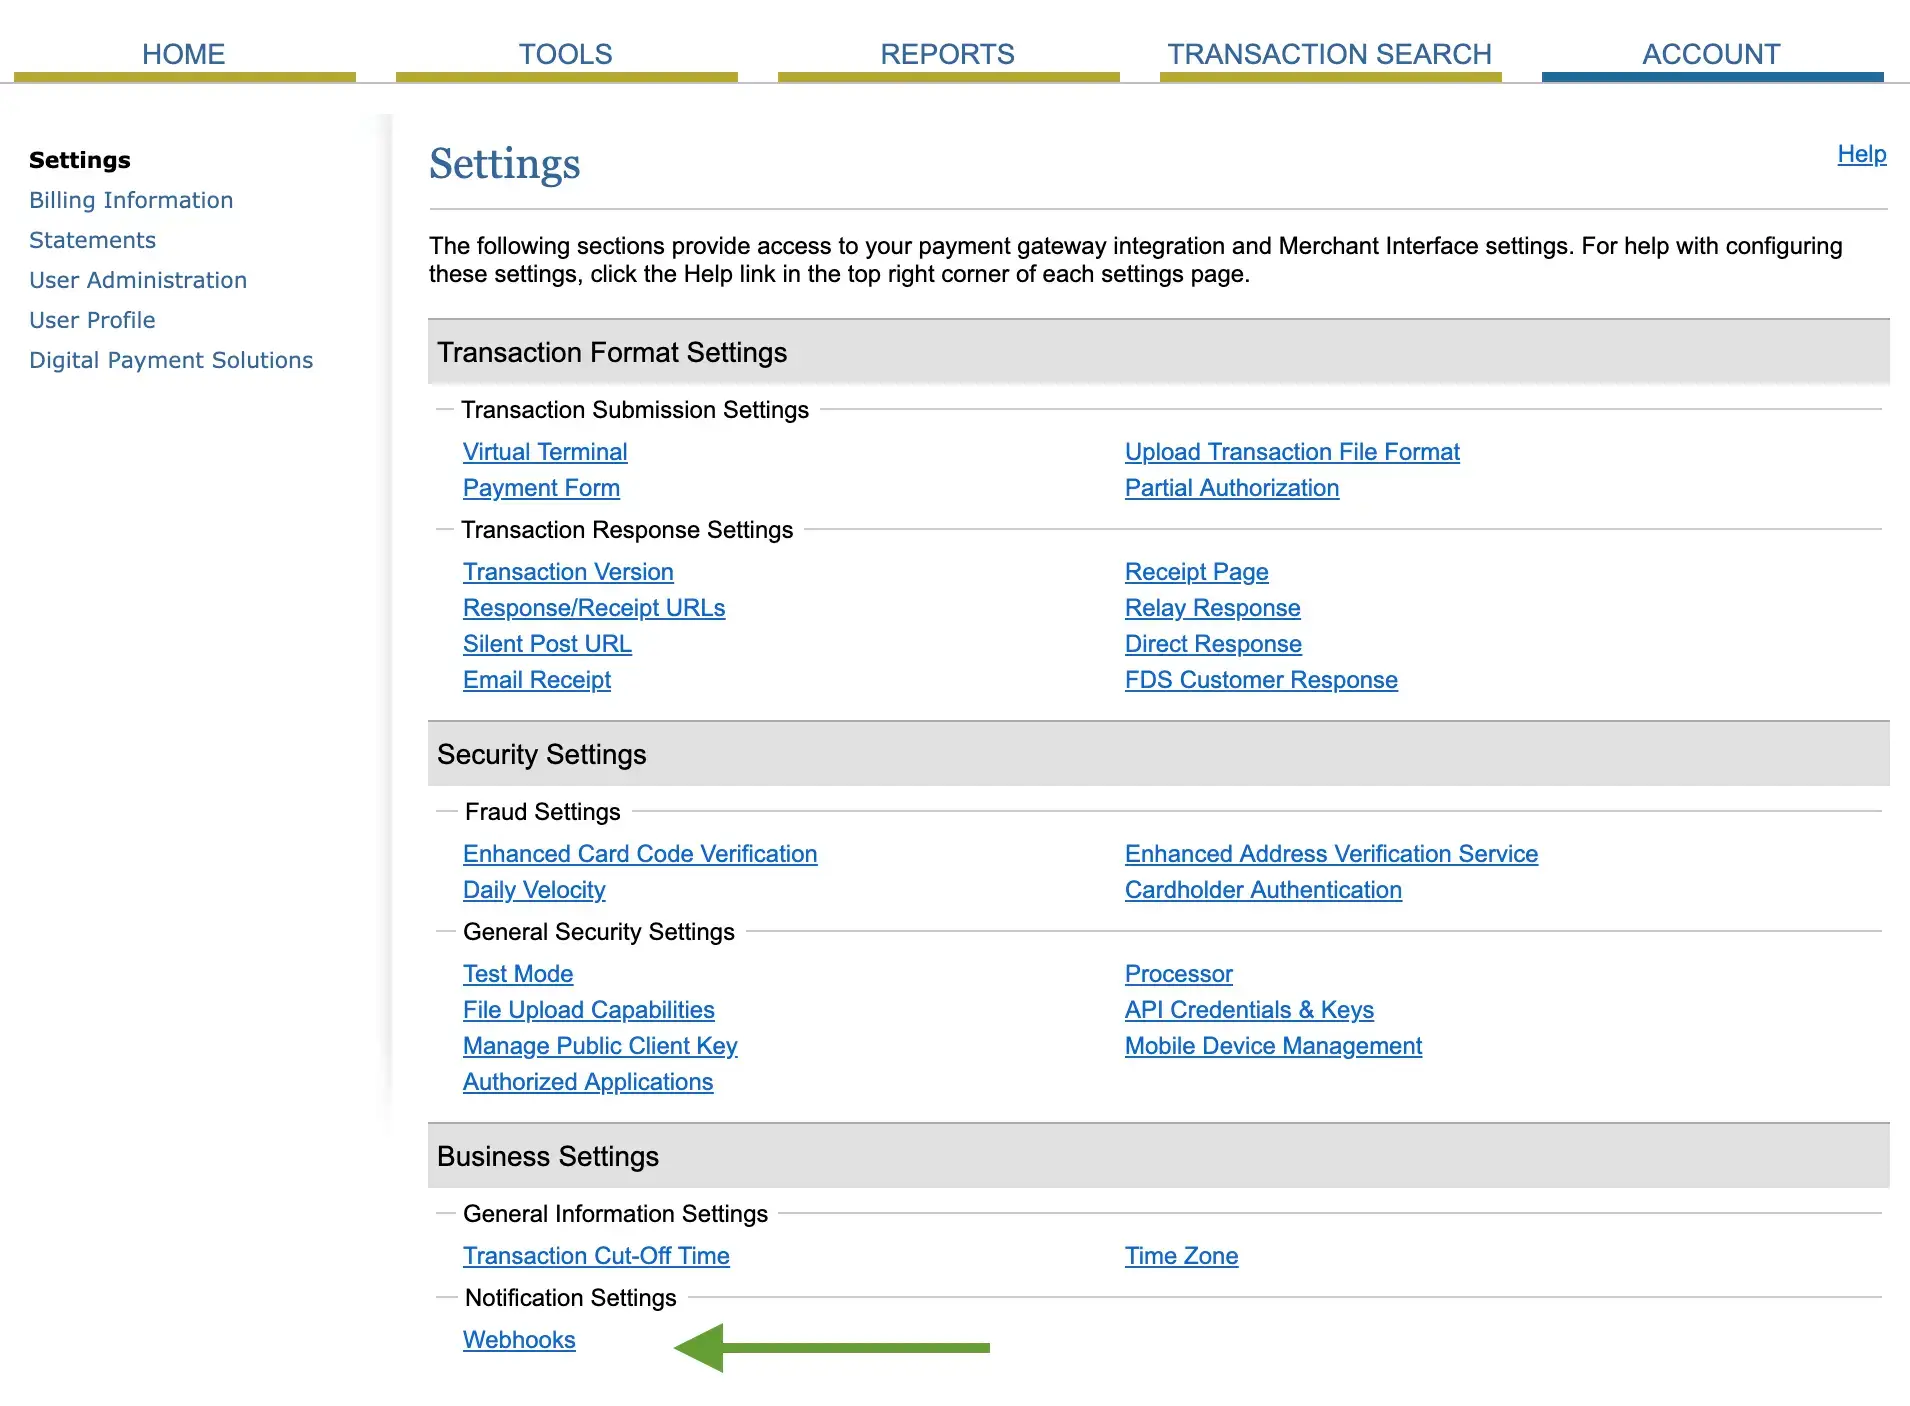
Go to your Account Dashboard on your Authorize.net dashboard.
-
Click Account tab > Settings > Webhooks.

-
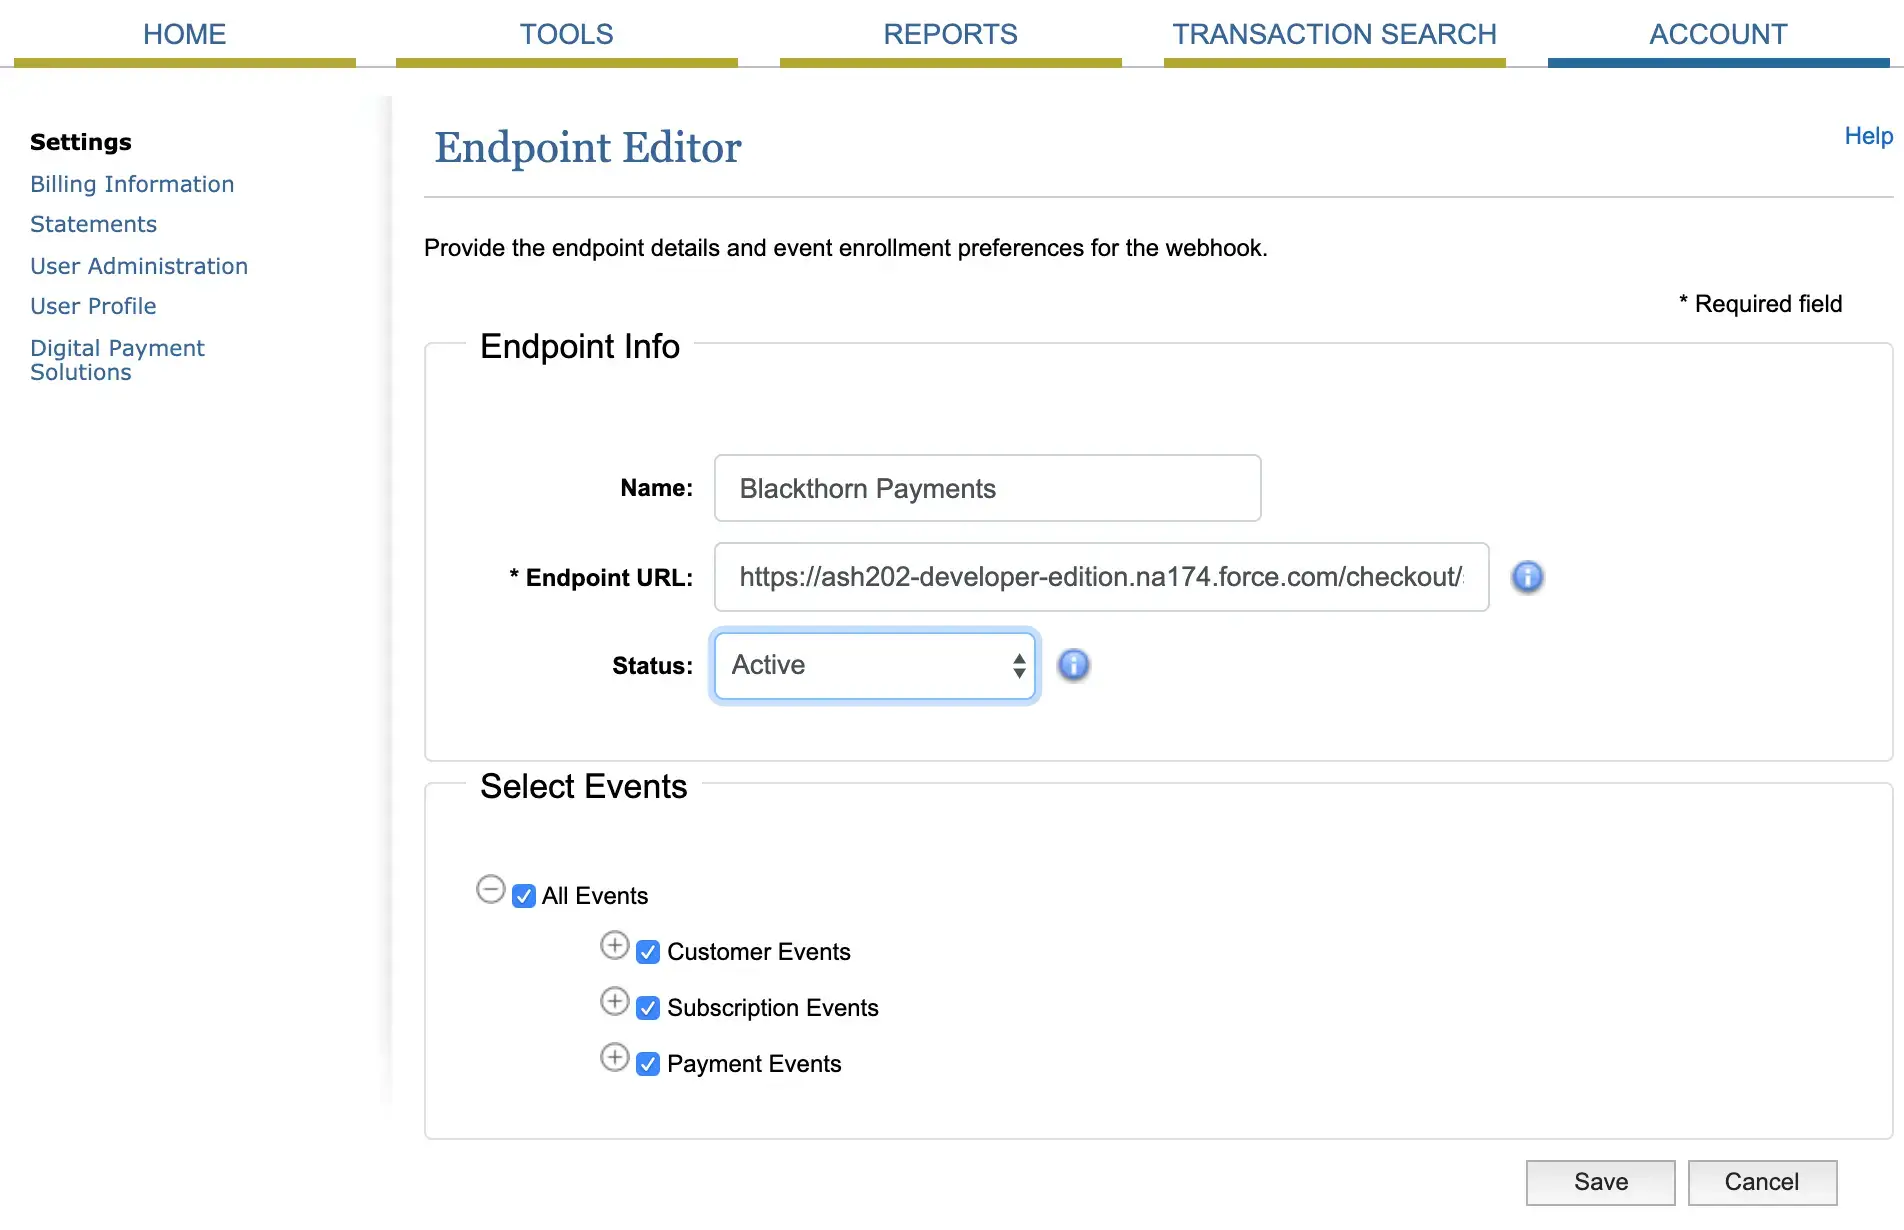
Click Add Endpoint and fill the form with the following details
-
Add Name: Any name that you are comfortable with
-
Add Endpoint URL: {{site_url}}/profile/{{admin_username}}/auth_update_subscription/
-
Select Events: Add “ALL Events”
-
Save the webhook.

-
-
Add these details to your Authorize.NET gateway settings and save your changes. That’s All! If you have any difficulty in the configuration process, please contact our support team at support@wpdating.com.